
There’s something undeniably comforting about the combination of flaky, buttery croissants, savory ham, and gooey melted cheese. These Baked Ham and Cheese Croissants are the perfect example of how simple ingredients can come together to create something truly magical. Whether you’re looking for a quick breakfast, a satisfying snack, or an elegant appetizer for your next gathering, these croissants are sure to hit the spot. Plus, they’re incredibly easy to make, requiring just a handful of ingredients and minimal prep time.
In this article, we’ll walk you through everything you need to know about making these delicious croissants, including step-by-step instructions, tips for customization, and why this recipe is a crowd-pleaser. Let’s get started!
Why You’ll Love These Ham and Cheese Croissants
- Flaky and Buttery: The croissants bake up golden and crispy on the outside, with layers of buttery goodness inside.
- Cheesy and Savory: The combination of ham and melted cheese is a classic flavor duo that never disappoints.
- Quick and Easy: With just a few ingredients and minimal prep, this recipe is perfect for busy mornings or last-minute entertaining.
- Versatile: Serve them for breakfast, brunch, as a snack, or even as an appetizer at parties.
- Crowd-Pleaser: Both kids and adults will love these cheesy, savory treats.
Ingredients You’ll Need
Here’s what you’ll need to make these delicious croissants:
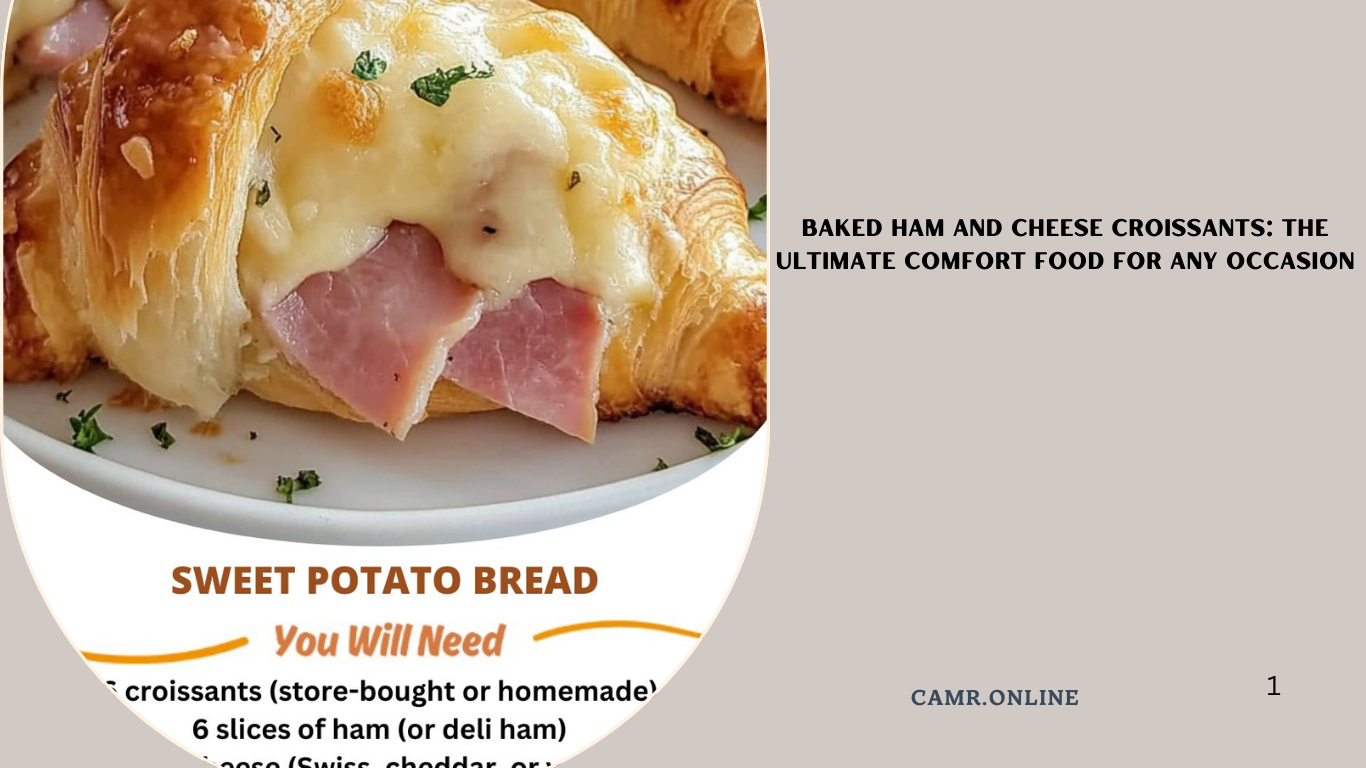
- 4 large croissants (store-bought or homemade)
- 8 slices of ham (or your favorite deli meat)
- 8 slices of cheese (cheddar, Swiss, or provolone work well)
- 2 tbsp Dijon mustard (optional, for added flavor)
- 1 egg, beaten (for egg wash)
- 1 tbsp sesame seeds or poppy seeds (optional, for topping)
Step-by-Step Instructions
Step 1: Preheat and Prep
- Preheat your oven to 375°F (190°C).
- Line a baking sheet with parchment paper or lightly grease it with cooking spray.
Step 2: Assemble the Croissants
- Slice each croissant in half horizontally, like you would for a sandwich.
- If using, spread a thin layer of Dijon mustard on the bottom half of each croissant.
- Layer 2 slices of ham and 2 slices of cheese on the bottom half of each croissant.
- Place the top half of the croissant back on to form a sandwich.
Step 3: Brush with Egg Wash
- Lightly brush the tops of the croissants with the beaten egg. This will give them a beautiful golden color when baked.
- Sprinkle with sesame seeds or poppy seeds, if desired.
Step 4: Bake to Perfection
- Place the assembled croissants on the prepared baking sheet.
- Bake for 12-15 minutes, or until the croissants are golden brown and the cheese is melted and bubbly.
Step 5: Serve and Enjoy
- Remove the croissants from the oven and let them cool for 2-3 minutes.
- Serve warm and enjoy the gooey, cheesy goodness!
Tips for Customization
- Add Veggies: Include slices of tomato, spinach, or caramelized onions for extra flavor and nutrition.
- Spice It Up: Add a dash of hot sauce or a sprinkle of red pepper flakes for a spicy kick.
- Different Meats: Swap the ham for turkey, roast beef, or even bacon.
- Cheese Variations: Experiment with different cheeses like mozzarella, Gouda, or pepper jack.
- Sweet and Savory: Add a drizzle of honey or a sprinkle of brown sugar for a sweet and savory twist.
Frequently Asked Questions (FAQs)
1. Can I make these ahead of time?
Yes! Assemble the croissants and store them in the refrigerator for up to 24 hours before baking. Add a few extra minutes to the baking time if baking from cold.
2. How do I store leftovers?
Store leftover croissants in an airtight container in the refrigerator for up to 3 days. Reheat in the oven or microwave before serving.
3. Can I use mini croissants?
Absolutely! Use mini croissants for bite-sized appetizers. Adjust the baking time to 8-10 minutes.
4. What can I serve with these croissants?
Pair them with a side salad, soup, or fresh fruit for a complete meal.
Final Thoughts
These Baked Ham and Cheese Croissants are a quick, easy, and delicious way to enjoy a classic flavor combination. Whether you’re serving them for breakfast, brunch, or as an appetizer, they’re sure to be a hit with everyone who tries them. Plus, they’re endlessly customizable, so you can make them your own.
Give this recipe a try and let us know how it turns out! Don’t forget to share your creations on social media and tag us. Happy cooking!