
If you’re looking for a crowd-pleasing appetizer that’s crispy, cheesy, and packed with flavor, these BBQ Bacon-Wrapped Mozzarella Sticks are the answer! Imagine gooey mozzarella cheese wrapped in smoky bacon, brushed with tangy BBQ sauce, and baked to perfection. Whether you’re hosting a game day party, a family gathering, or just craving a delicious snack, these mozzarella sticks are sure to be a hit.
In this article, we’ll walk you through the recipe step by step, share tips for making them even more special, and explain why this snack is a must-try. Let’s get started!
Why You’ll Love These Bacon-Wrapped Mozzarella Sticks
- Irresistible Flavor: The combination of smoky bacon, melty cheese, and tangy BBQ sauce is a flavor explosion.
- Easy to Make: With just a few ingredients, this recipe is simple yet impressive.
- Perfect for Parties: These sticks are bite-sized, making them ideal for sharing.
- Customizable: Use your favorite BBQ sauce or add a spicy kick with hot sauce.
Ingredients You’ll Need
Here’s everything you’ll need to create these delicious mozzarella sticks:
For the Mozzarella Sticks:
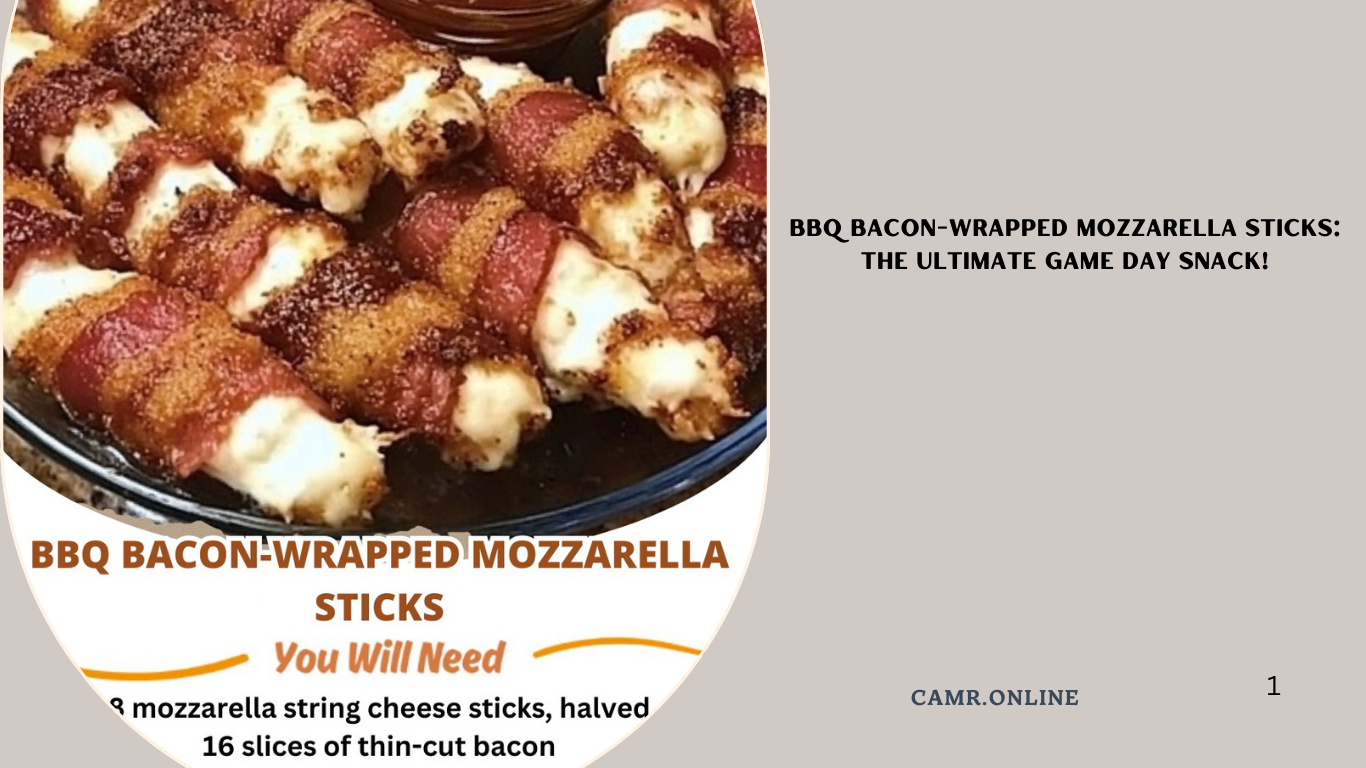
- 12 string cheese sticks (mozzarella)
- 12 slices of bacon (thin-cut works best)
- 1/2 cup BBQ sauce (plus extra for serving)
- Toothpicks (soaked in water for 30 minutes)
For Serving (Optional):
- Ranch dressing
- Marinara sauce
- Chopped green onions (for garnish)
Step-by-Step Instructions
Step 1: Preheat the Oven
- Preheat your oven to 400°F (200°C).
- Line a baking sheet with parchment paper and place a wire rack on top (this helps the bacon crisp evenly).
Step 2: Wrap the Cheese Sticks
- Wrap each mozzarella stick with a slice of bacon, starting at one end and spiraling it around the cheese.
- Secure the ends of the bacon with toothpicks to prevent unraveling during baking.
Step 3: Brush with BBQ Sauce
- Place the bacon-wrapped mozzarella sticks on the prepared wire rack.
- Brush each stick generously with BBQ sauce, ensuring they’re evenly coated.
Step 4: Bake the Mozzarella Sticks
- Bake for 15-20 minutes, or until the bacon is crispy and the cheese is starting to melt.
- Halfway through baking, brush the sticks with more BBQ sauce for extra flavor.
Step 5: Serve and Enjoy
- Let the mozzarella sticks cool for a few minutes before serving.
- Serve with additional BBQ sauce, ranch dressing, or marinara sauce for dipping.
- Garnish with chopped green onions for a fresh touch.
Tips for the Perfect Bacon-Wrapped Mozzarella Sticks
- Use Thin-Cut Bacon: Thin-cut bacon cooks faster and crisps up better.
- Don’t Overcook: Keep an eye on the sticks to prevent the cheese from completely melting and oozing out.
- Add a Spicy Kick: Mix a teaspoon of hot sauce into the BBQ sauce for a spicy twist.
- Make Them Ahead: Assemble the sticks the night before and refrigerate. Bake them just before serving.
Why This Snack is a Must-Try
These BBQ Bacon-Wrapped Mozzarella Sticks are the ultimate combination of smoky, cheesy, and tangy flavors. They’re easy to make yet impressive enough to serve at any gathering. Whether you’re hosting a party or just treating yourself to a delicious snack, these mozzarella sticks are sure to delight.
Frequently Asked Questions (FAQs)
1. Can I use a different type of cheese?
Yes! Try using cheddar, pepper jack, or even smoked gouda for a different flavor.
2. How do I store leftovers?
Store leftovers in an airtight container in the refrigerator for up to 2 days. Reheat in the oven for best results.
3. Can I make these in an air fryer?
Absolutely! Cook at 375°F (190°C) for 10-12 minutes, flipping halfway through.
4. Can I use turkey bacon?
Yes, but keep in mind that turkey bacon may not crisp up as much as regular bacon.
Final Thoughts
These BBQ Bacon-Wrapped Mozzarella Sticks are a fun, flavorful, and easy-to-make snack that’s perfect for any occasion. With their crispy bacon, melty cheese, and tangy BBQ sauce, they’re a treat that’s sure to bring joy to every bite. Whether you’re serving them at a party or enjoying them as a snack, these mozzarella sticks are a must-try.
So, grab your ingredients and get ready to create a snack that’s as unforgettable as it is delicious. Happy cooking!