

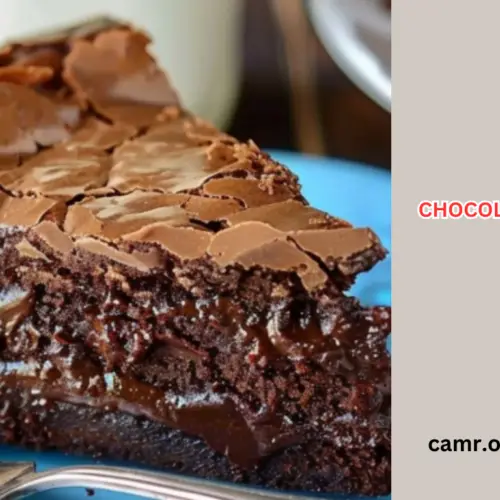
If you’re a fan of rich, decadent desserts, Chocolate Ooey Gooey Cake is a must-try treat. This indulgent cake is known for its soft, fudgy texture with a slightly crisp crust, making every bite a delight. Inspired by the classic Gooey Butter Cake, this chocolate version elevates the concept with deep cocoa flavors that satisfy every chocolate lover’s craving.
Why This Cake is So Popular
One of the reasons this cake has become a favorite is its simplicity. Unlike traditional layered cakes that require precise techniques and long prep times, this recipe is straightforward and nearly foolproof. Whether you’re baking for a special occasion or indulging in something sweet on a whim, this dessert is the perfect choice. With only a few basic ingredients—most of which you likely have on hand—it’s ready in no time.
The Secret to the Perfect Texture
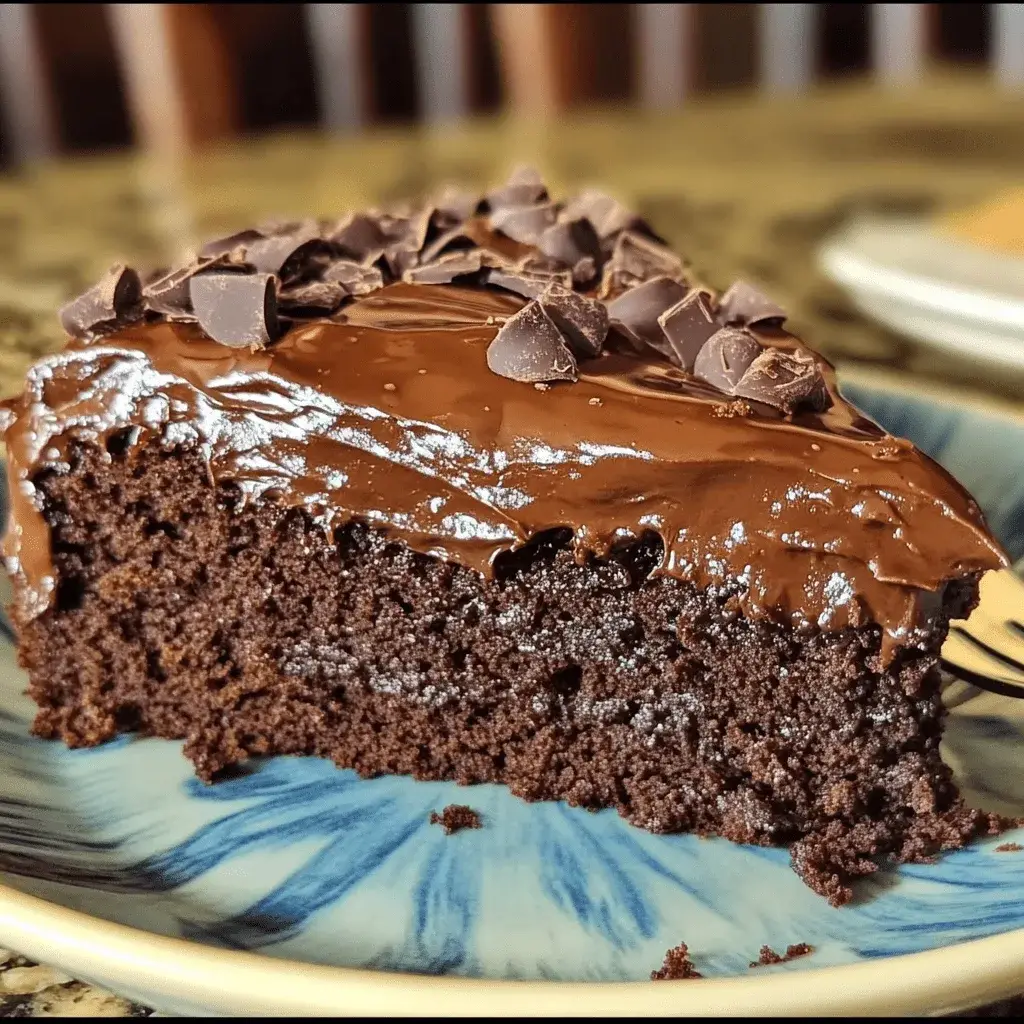
The signature ooey gooey texture of this cake comes from its unique two-layer composition: a dense, buttery base and a luscious, creamy filling. The filling sets slightly while maintaining a soft, molten center, giving it that irresistible gooeyness.
Ingredients You’ll Need
Cake Layer
- 1 box chocolate cake mix – Forms the base, providing structure and rich chocolate flavor.
- 1 egg – Helps bind the cake layer for a firm yet tender texture.
- ½ cup butter, melted – Adds moisture and richness.
Filling Layer
- 8 oz cream cheese, softened – The key to achieving that gooey, creamy texture.
- 2 eggs – Ensures the filling sets without losing its gooey center.
- 1 tsp vanilla extract – Enhances the flavor and aroma.
- ½ cup butter, melted – Adds to the smoothness and richness of the filling.
- 16 oz powdered sugar – Sweetens the filling while contributing to the creamy consistency.
- ¼ cup cocoa powder – Deepens the chocolate flavor.
Optional Add-ins for Extra Flavor
- Chocolate chips – For pockets of melted chocolate.
- Espresso powder – Intensifies the chocolate flavor.
- Chopped nuts – Adds a crunchy contrast to the gooey texture.

Step-by-Step Instructions
Step 1: Preheat and Prepare
Preheat the oven to 350°F (175°C). Grease a 9×13-inch baking dish with butter or non-stick spray, or line it with parchment paper for easy removal.
Step 2: Make the Cake Layer
In a mixing bowl, combine:
- 1 box chocolate cake mix
- 1 egg
- ½ cup melted butter
Mix until it forms a thick, dough-like consistency. Press it evenly into the bottom of your prepared baking dish.
Step 3: Create the Gooey Filling
In a separate bowl, beat together:
- 8 oz softened cream cheese
- 2 eggs
- 1 tsp vanilla extract
Gradually add:
- ½ cup melted butter
- 16 oz powdered sugar
- ¼ cup cocoa powder
Mix until smooth and creamy.
Step 4: Assemble and Bake
Pour the gooey filling over the cake layer and spread evenly. Bake for 40-50 minutes. The edges should be set and slightly crisp, while the center remains soft and jiggly. Avoid overbaking to maintain the gooey texture.
Pro Tip: For a fudgier texture, bake for 40 minutes. For a more set texture, bake closer to 50 minutes.
Cooling and Serving
Let the cake cool in the pan for 15-20 minutes before slicing. For clean slices, use a knife coated with non-stick spray or warmed in hot water.
Serving Suggestions:
- Top with whipped cream for a light contrast.
- Drizzle with chocolate or caramel sauce for extra indulgence.
- Pair with a scoop of vanilla ice cream for a perfect hot-and-cold combination.
Delicious Variations
- Peanut Butter Swirl – Add ½ cup of peanut butter to the filling and swirl it in.
- Salted Caramel – Drizzle caramel sauce over the filling before baking and sprinkle with flaky sea salt.
- Nutella Heaven – Swirl ½ cup of Nutella into the filling for a hazelnut-chocolate twist.
- Gluten-Free – Use a gluten-free cake mix for the base while keeping the filling unchanged.
- Double Chocolate Delight – Add 1 cup of chocolate chips for extra gooeyness.
Storage Tips
- Room Temperature: Store in an airtight container for up to 2 days.
- Refrigerator: Keeps fresh for up to 5 days. Bring to room temperature before serving.
- Freezer: Wrap individual slices in plastic wrap and freeze for up to 3 months. Thaw overnight in the fridge.
Chocolate Ooey Gooey Cake
Ingredients
- For the Cake Layer:
- 1 box chocolate cake mix
- Ezoic
- 1 egg
- ½ cup butter melted
- For the Gooey Filling:
- 8 oz cream cheese softened
- 2 eggs
- 1 tsp vanilla extract
- ½ cup butter melted
- 16 oz powdered sugar
- ¼ cup cocoa powder
Instructions
- Step 1: Prep the Oven & Pan
- Preheat oven to 350°F (175°C).
- Grease a 9×13-inch baking dish with butter or non-stick spray.
- Step 2: Make the Cake Layer
- In a bowl, mix chocolate cake mix, egg, and melted butter until combined.
- Press the mixture evenly into the prepared baking dish.
- Step 3: Prepare the Gooey Filling
- In another bowl, beat cream cheese, eggs, and vanilla extract until smooth.
- Add melted butter, powdered sugar, and cocoa powder, mixing until fully combined.
- Step 4: Assemble & Bake
- Pour the gooey filling over the cake layer. Spread evenly.
- Bake for 40-50 minutes until the edges are set and the center is slightly jiggly.
- Step 5: Cool & Serve
- Let the cake cool for 15-20 minutes before slicing.
- Serve warm or at room temperature with whipped cream or ice cream.
Notes
✔ Use full-fat cream cheese for the creamiest consistency.
✔ Enhance the flavor by adding espresso powder or chocolate chips to the filling.
✔ Store properly: Keep at room temperature for 2 days, refrigerate for 5 days, or freeze for 3 months.
✔ Best served warm for an ultra-gooey experience!