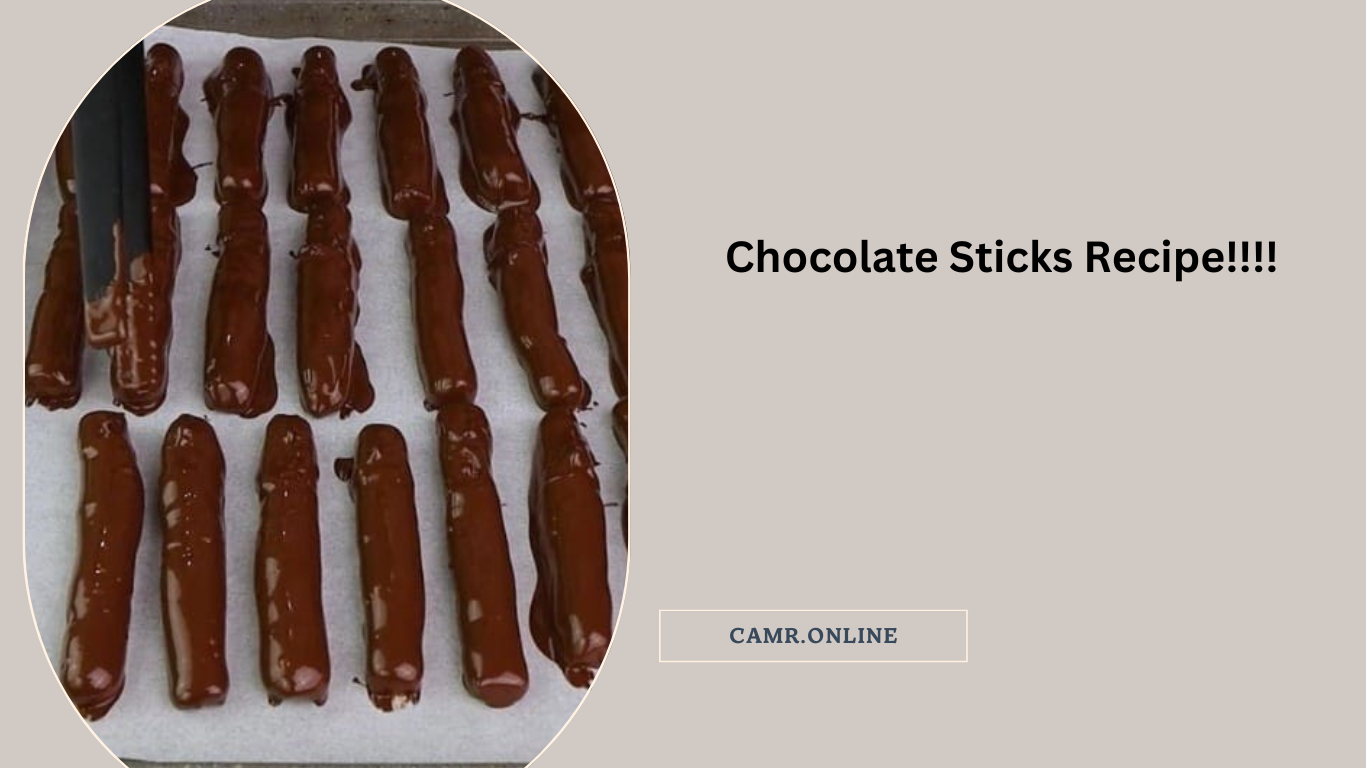
Handcrafted Chocolate Sticks: A Perfect Party Favor 🍫🎉
Handmade chocolate sticks are a delightful and customizable treat, perfect for parties, special occasions, or gifting. With their mix of rich chocolate, crunchy nuts, and vibrant toppings, these confections are as fun to make as they are to eat. Let’s dive into this easy recipe and create some magic!
What You’ll Need to Make Chocolate Sticks
Base Ingredients
| Ingredient |
Quantity |
| Dark chocolate (70% cocoa solids or more) |
1 cup (finely chopped or chips) |
| White chocolate chips |
1/4 cup |
| Nuts (almonds, hazelnuts, etc.), chopped |
1/2 cup |
| Dried fruit (cranberries, apricots, etc.) |
1/4 cup |
| Pure vanilla extract |
1 teaspoon |
| Sea salt (fine) |
A pinch |
Topping Options (Optional, for Personalization)
| Topping |
As Needed |
| Shredded coconut |
Adjust as desired |
| Crushed candy canes |
Adjust as desired |
| Colorful sprinkles |
Adjust as desired |
| Crushed pistachios |
Adjust as desired |
Instructions: Crafting the Perfect Chocolate Sticks
Step 1: Slowly Melt the Dark Chocolate
- Use a double boiler or microwave to gently melt the dark chocolate.
- Double boiler method: Place the chocolate in a heat-safe bowl over a pot of simmering water, stirring until smooth.
- Microwave method: Heat the chocolate in 20-second intervals, stirring each time, until fully melted.
- Once melted, stir in the vanilla extract and a pinch of sea salt to enhance the flavor.
Step 2: Make the Chocolate Base
- Line a baking sheet with parchment paper.
- Pour the melted dark chocolate onto the lined sheet and spread it into a rectangle approximately 1/4 inch thick.
- Sprinkle the chopped nuts and dried fruits evenly over the chocolate base, gently pressing them in to ensure they stick.
Step 3: Glaze with White Chocolate
- Melt the white chocolate chips using the same method as the dark chocolate.
- Drizzle the melted white chocolate over the dark chocolate base in thin, decorative lines for a marbled or striped effect.
Step 4: Decorate
- Add your choice of toppings:
- Shredded coconut for a tropical vibe.
- Crushed candy canes for a festive touch.
- Sprinkles for fun pops of color.
- Crushed pistachios for a nutty crunch.
- Be creative! Mix and match toppings to suit the occasion or your preferences.
Step 5: Set and Cut
- Let the chocolate set:
- For quicker results, place the tray in the refrigerator for 20-30 minutes.
- Alternatively, allow it to set at room temperature for about 1-2 hours.
- Once the chocolate is firm, use a sharp knife to cut it into sticks or bars.
Storage and Serving
- Storage: Keep the chocolate sticks in an airtight container at room temperature for up to 1 week. For longer storage, refrigerate them for up to 2 weeks.
- Serving: Arrange on a decorative platter or package them in clear bags tied with ribbons for gifting.
Tips for Success
- Use high-quality chocolate: The better the chocolate, the richer the flavor of your treats.
- Customize toppings: Let your creativity shine by experimenting with different combinations of nuts, fruits, and sprinkles.
- Keep it thin: A uniform thickness ensures even setting and easy slicing.
- Chill but don’t freeze: Rapid freezing can cause the chocolate to develop a white “bloom,” which is harmless but affects the appearance.
Why You’ll Love This Recipe
- Versatile: Perfect for holidays, birthdays, or anytime snacking.
- Customizable: Personalize with toppings to match any theme or flavor preference.
- Effortless Elegance: Easy to make but looks and tastes gourmet.


