
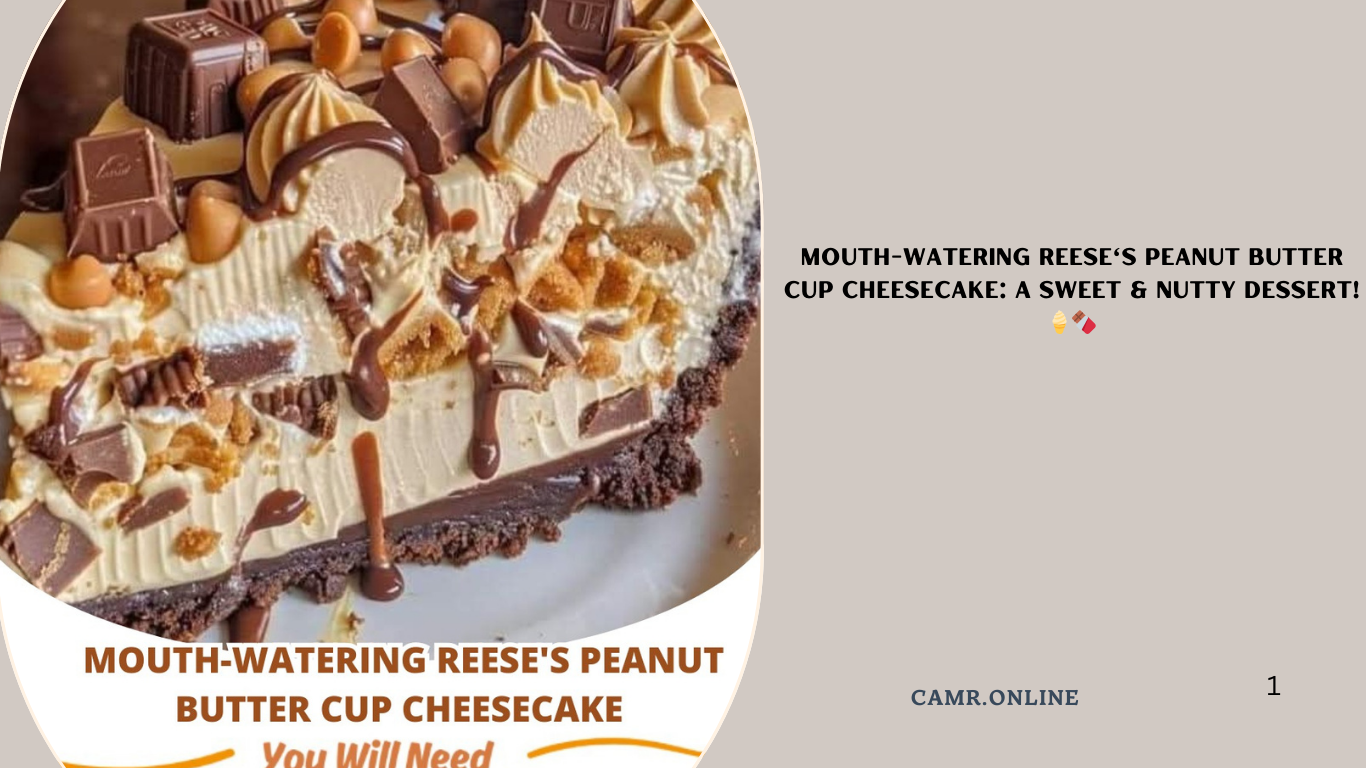
If you’re a fan of Reese’s Peanut Butter Cups and creamy cheesecake, this Reese’s Peanut Butter Cup Cheesecake is your ultimate indulgence! Combining rich cream cheese, smooth peanut butter, and a decadent chocolate cookie crust, this dessert delivers layers of flavor that will leave everyone asking for seconds. Perfect for parties, potlucks, or simply treating yourself, it’s easy to make and sure to become a favorite.
In this article, we’ll guide you step-by-step through making this delightful cheesecake, share tips for success, and provide ideas for customization. Let’s dive in!
Why This Recipe Stands Out
Before diving into the details, here’s why this Reese’s Peanut Butter Cup Cheesecake deserves a spot on your dessert tray:
- Peanut Butter Perfection : The creamy peanut butter layer adds depth and nuttiness to every bite.
- Chocolate Cookie Crust : A crunchy, chocolatey base complements the sweet filling beautifully.
- Simple Ingredients : Made with pantry staples and just eight ingredients total.
- Customizable : Add-ins like chopped peanuts or drizzled chocolate take this cheesecake to the next level.
Now let’s explore the ingredients and instructions in detail.
Ingredients You’ll Need
For the Crust:
- 1 1/2 cups chocolate cookie crumbs
(Oreo or other chocolate sandwich cookies work great!) - 1/4 cup melted butter
(Holds the crust together and adds richness.)
For the Cheesecake Filling:
- 3 (8 oz) packages cream cheese , softened
(Softened cream cheese ensures smooth mixing.) - 1 cup sugar
(Sweetens the filling without altering its texture.) - 1 cup sour cream
(Keeps the cheesecake light and tangy.) - 1 tsp vanilla extract
(Enhances the overall aroma and taste.) - 3 large eggs
(Acts as a binder and contributes moisture.) - 1 cup creamy peanut butter
(The star ingredient—opt for natural or store-bought based on preference.)
Step-by-Step Instructions
Step 1: Preheat Your Oven
Preheat your oven to 350°F (175°C) . Grease a 9-inch springform pan or line the bottom with parchment paper.
Step 2: Prepare the Crust
- In a mixing bowl, combine the chocolate cookie crumbs and melted butter until the mixture resembles wet sand.
- Press the mixture evenly into the bottom of the prepared pan, using the back of a spoon or your hands to ensure it’s compact.
- Bake the crust for 8–10 minutes , then remove and let it cool while preparing the filling.
Step 3: Make the Cheesecake Filling
- In a large mixing bowl, beat the softened cream cheese until smooth and creamy.
- Gradually add the sugar , beating until fully incorporated and the mixture is light and fluffy.
- Stir in the sour cream and vanilla extract , ensuring everything is well blended.
- Beat in the large eggs , one at a time, stopping after each addition to avoid overmixing.
- Fold in the creamy peanut butter gently, creating swirls of nutty goodness throughout the batter.
Step 4: Assemble the Cheesecake
Pour the cheesecake filling over the cooled crust, spreading it evenly with a spatula. Tap the pan lightly on the counter to release any air bubbles.
Step 5: Bake Until Set
Bake the cheesecake in the preheated oven for 50–60 minutes , or until the edges are set but the center still jiggles slightly. Turn off the oven and let the cheesecake sit inside with the door cracked open for 30 minutes to prevent cracking.
Step 6: Chill and Serve
- Refrigerate the cheesecake for at least 4 hours or overnight to allow it to firm up completely.
- Once chilled, garnish with crushed Reese’s cups, chocolate shavings, or whipped cream if desired. Slice and serve!
Tips for Success
- Use Room-Temperature Ingredients : Softened cream cheese and room-temperature eggs ensure smoother mixing and better texture.
- Don’t Overbake : Baking until the edges are set but the center remains slightly wobbly ensures a creamy interior.
- Crack Prevention : Allowing the cheesecake to cool gradually in the oven minimizes the risk of cracks forming.
- Chop Chocolate Cookies Finely : Ensure the crust holds together by finely crushing the cookies before mixing with butter.
Variations and Customizations
While the classic version is irresistible, feel free to switch things up with these ideas:
- Spiced Variation : Add 1 teaspoon of ground cinnamon or nutmeg for extra warmth.
- Chocolate Swirl : Drizzle melted chocolate over the filling before baking for added flair.
- Nutty Crunch : Sprinkle chopped peanuts or almonds over the top before chilling.
- Mini Versions : Pour the batter into muffin tins lined with foil cups for individual servings.
Serving Suggestions
This Reese’s Peanut Butter Cup Cheesecake pairs wonderfully with a variety of drinks and desserts:
- Serve alongside coffee, tea, or hot cocoa for a cozy treat.
- Offer it as part of a dessert buffet with brownies, cookies, or fruit tarts.
- Pair with fresh berries or caramel sauce for extra indulgence.
- Freeze slices for later enjoyment—simply thaw and reheat when ready.
FAQs About Reese’s Peanut Butter Cup Cheesecake
Q: Can I use reduced-fat cream cheese?
A: While full-fat cream cheese provides the best texture, reduced-fat versions can work. Expect a slightly less creamy result.
Q: How long does this cheesecake stay fresh?
A: Store leftovers in an airtight container in the refrigerator for up to 5–7 days .
Q: Can I freeze the cheesecake?
A: Yes! Wrap individual slices tightly in plastic wrap, place them in a freezer-safe bag, and freeze for up to 3 months . Thaw overnight in the fridge before serving.
Health Benefits of This Dessert
While indulgent, there are ways to make this cheesecake slightly healthier without sacrificing taste:
- Protein Power : Cream cheese and peanut butter contribute protein, keeping you fuller longer.
- Whole Grain Cookie Crust : Replace chocolate cookies with whole grain alternatives for added fiber.
- Portion Control : Enjoy one slice per serving to savor the flavors while keeping portions reasonable.
Conclusion
This Reese’s Peanut Butter Cup Cheesecake brings together the best of peanut butter and chocolate in one unforgettable dessert. By following our detailed recipe and expert tips, you’ll be able to create a cheesecake that rivals anything from a bakery—all while staying wallet-friendly!
So gather your ingredients, fire up the oven, and enjoy the satisfaction of serving something truly special. Happy baking—and happy eating! 🍴✨