Ingredients
- 3 cups all-purpose flour (or bread flour for a chewier texture) 🌾
- 1 1/4 teaspoons salt 🧂
- 1/4 teaspoon active dry yeast (yes, just a tiny amount!) 🍞
- 1 1/2 cups warm water (about 100°F–110°F/38°C–43°C) 💧
- Optional: 1–2 tablespoons olive oil (for added softness)
Instructions
Step 1: Mix the Dough
- In a large mixing bowl, combine the flour , salt , and yeast . Stir to evenly distribute the ingredients.
- Add the warm water (and optional olive oil) to the dry ingredients. Stir with a wooden spoon or spatula until a shaggy dough forms. The dough will be sticky—that’s okay!
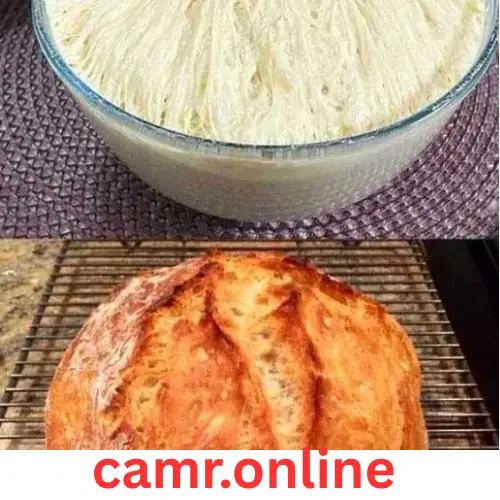
- Cover the bowl with plastic wrap, a damp kitchen towel, or a lid, and let it sit at room temperature for 8–12 hours (overnight works perfectly). The dough will rise and develop bubbles as it ferments.
Step 2: Shape the Dough
- After the dough has risen, lightly flour your work surface and turn the dough out onto it.
- Gently fold the dough over itself a few times to shape it into a ball. Don’t overwork it—this step is just to create structure.
- Place the dough ball seam-side down onto a piece of parchment paper or into a well-floured proofing basket (if you have one).
Step 3: Second Rise
- Cover the shaped dough loosely with a clean kitchen towel and let it rest for 30–60 minutes , or until it puffs up slightly.
Step 4: Preheat and Bake
- Place a heavy Dutch oven (with lid) in your oven and preheat it to 450°F (230°C) . Let the pot heat up for at least 30 minutes before baking.
- Carefully remove the hot Dutch oven and transfer the dough (using the parchment paper for easy handling) into the pot.
- Use a sharp knife or razor blade to score the top of the dough with a shallow slash (this helps the bread expand while baking).
- Cover the pot with the lid and bake for 30 minutes .
- Remove the lid and bake for an additional 10–15 minutes , or until the crust is deep golden brown and the bread sounds hollow when tapped on the bottom.
Step 5: Cool and Slice
- Transfer the bread to a wire rack and let it cool completely before slicing. This allows the crumb to set properly.
Tips and Variations
- Add-Ins: Fold in herbs, seeds (like sesame or sunflower), or grated cheese during the shaping step for extra flavor.
- Gluten-Free Option: Substitute the all-purpose flour with a gluten-free flour blend designed for bread.
- Whole Wheat Version: Replace up to half the flour with whole wheat flour for a heartier texture.
- Storage: Store the bread in a paper bag or loosely wrapped in a kitchen towel to maintain the crust. For longer storage, freeze slices in an airtight container.
- Make Ahead: The long fermentation time makes this bread perfect for planning ahead. Start it the night before and bake it the next day.
Why You’ll Love This Bread
- No Kneading Required: Minimal hands-on effort makes this recipe beginner-friendly.
- Simple Ingredients: Made with pantry staples, no fancy tools needed.
- Artisan-Quality Results: A crispy crust and soft, airy interior rival bakery bread.
- Customizable: Add-ins and variations let you tailor it to your taste.
- Perfect for Sharing: Whether for yourself or to gift, this bread is sure to impress.
This No-Knead Bread is proof that simplicity can yield incredible results. With just a few ingredients and some patience, you’ll have a beautiful, delicious loaf that’s perfect for sandwiches, toast, or enjoying plain. Keep baking—it’s hard to stop once you start! 🍞


