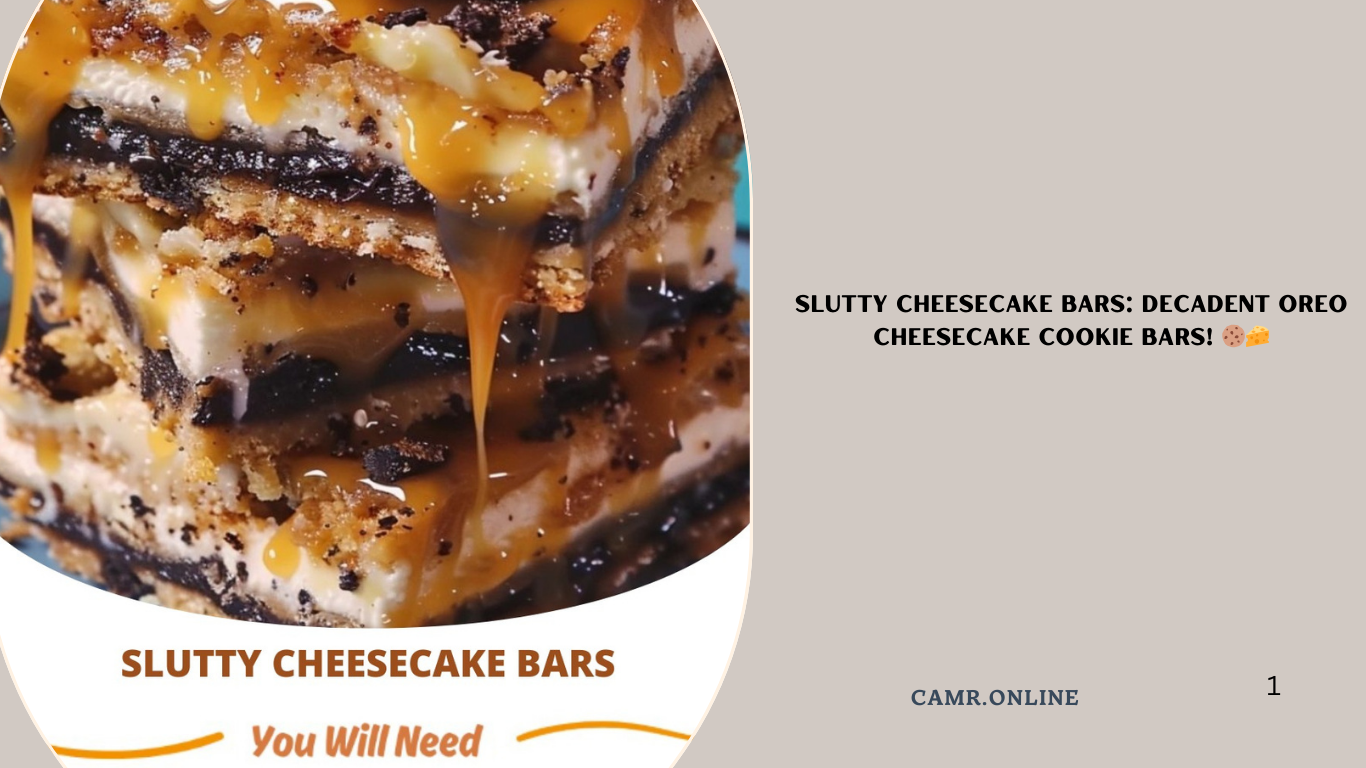
If you’re looking for a dessert that combines the rich creaminess of cheesecake with the irresistible crunch of Oreos, these Cheesecake Bars are here to satisfy your sweet tooth! With their creamy filling, chocolatey goodness, and cookie crust, these bars are both indulgent and easy to make. Perfect for parties, potlucks, or simply treating yourself, they’re sure to become a crowd favorite.
In this article, we’ll guide you step-by-step through making these delightful bars, share tips for success, and provide ideas for customization. Let’s dive in!
Why This Recipe Stands Out
Before diving into the details, here’s why these Cheesecake Bars deserve a spot on your dessert tray:
- Oreo Crust Perfection : The crushed Oreo base adds sweetness and texture, creating the ultimate foundation.
- Creamy Cheesecake Filling : Softened cream cheese, sugar, eggs, and sour cream come together for a smooth, luscious center.
- Chocolatey Delight : Semi-sweet chocolate chips add pockets of gooey richness throughout the bars.
- Easy to Make : With simple ingredients and minimal prep work, these bars are perfect for any occasion.
Now let’s explore the ingredients and instructions in detail.
Ingredients You’ll Need
For the Crust:
- 16 Oreo cookies
(Crushed to form the base of the bars.)
For the Cheesecake Filling:
- 16 oz cream cheese , softened
(Softened cream cheese ensures a smooth batter.) - 1/2 cup granulated sugar
(Adds sweetness without overpowering the other flavors.) - 2 large eggs
(Acts as a binder and contributes moisture.) - 1/2 teaspoon vanilla extract
(Enhances the overall aroma and taste.) - 1/2 cup sour cream
(Keeps the filling light and tangy.)
For the Chocolate Swirl:
- 1/2 cup semi-sweet chocolate chips
(For melty, decadent streaks throughout the bars.)
Step-by-Step Instructions
Step 1: Prepare the Oreo Crust
- In a food processor or blender, pulse the Oreo cookies until finely crushed. Alternatively, place them in a zip-top bag and crush with a rolling pin.
- Reserve 1 cup of crushed Oreos for the crust and set aside the remaining crumbs for topping later.
Step 2: Create the Crust Base
- Preheat your oven to 350°F (175°C) . Grease an 8×8-inch baking pan and line it with parchment paper for easy removal.
- Press the reserved 1 cup of crushed Oreos evenly into the bottom of the prepared pan to form the crust. Use the back of a spoon or your fingers to press it firmly.
Step 3: Mix the Cheesecake Filling
- In a large mixing bowl, beat the softened cream cheese and sugar together until light and fluffy.
- Beat in the eggs one at a time, ensuring each egg is fully incorporated before adding the next.
- Stir in the vanilla extract and sour cream until the mixture is smooth and creamy.
Step 4: Assemble the Bars
- Pour the cheesecake filling over the Oreo crust, spreading it evenly with a spatula.
- Sprinkle the semi-sweet chocolate chips evenly over the top of the filling.
Step 5: Add Texture
- Gently swirl the chocolate chips into the cheesecake filling using a knife or skewer for marbled effect.
- Sprinkle the remaining crushed Oreos over the top for added crunch.
Step 6: Bake Until Set
- Place the pan in the preheated oven and bake for 25–30 minutes , or until the edges are set but the center still jiggles slightly.
- Remove from the oven and let the bars cool completely in the pan before refrigerating for at least 2 hours or overnight.
Step 7: Slice and Serve
Once chilled, lift the bars out of the pan using the parchment paper overhang. Cut into squares and serve as-is or garnish with whipped cream, fresh berries, or extra chocolate drizzle.
Tips for Success
- Softened Cream Cheese : Ensure the cream cheese is softened to room temperature for easier mixing and a smoother texture.
- Don’t Overbake : Baking until the edges are set but the center remains slightly soft ensures a creamy consistency when cooled.
- Chill Thoroughly : Proper chilling allows the bars to firm up and makes slicing cleaner.
- Use High-Quality Oreos : Name-brand Oreos provide better flavor and texture compared to generic alternatives.
Variations and Customizations
While the classic version is delicious, feel free to switch things up with these ideas:
- White Chocolate Swirl : Replace the semi-sweet chocolate chips with white chocolate chips for a sweeter twist.
- Nutty Crunch : Fold in chopped walnuts, pecans, or almonds for added texture.
- Fruity Flavor : Stir in diced strawberries, blueberries, or raspberries for fruity freshness.
- Cookie Dough Bits : Mix in mini chocolate chip cookie dough chunks for extra indulgence.
Serving Suggestions
These Cheesecake Bars pair wonderfully with a variety of drinks and desserts:
- Serve alongside coffee, tea, or hot cocoa for a cozy treat.
- Offer them as part of a dessert buffet or holiday spread.
- Pack individual portions in portable containers for lunchboxes or snacks.
- Pair with fresh fruit or whipped cream for added elegance.
FAQs About Cheesecake Bars
Q: Can I use another type of cookie instead of Oreos?
A: Yes! Substitute with graham crackers, chocolate sandwich cookies, or even shortbread cookies for different flavors.
Q: How long do these bars stay fresh?
A: Store leftovers in an airtight container in the refrigerator for up to 3–4 days . Avoid freezing, as it may affect the texture.
Q: What if I don’t have sour cream?
A: Substitute with Greek yogurt or heavy cream for similar results.
Health Benefits of This Dessert
While indulgent, there are ways to make this dessert slightly healthier without sacrificing taste:
- Reduced Sugar Options : Use reduced-sugar Oreos or substitute half the sugar with applesauce for natural sweetness.
- Portion Control : Enjoy smaller slices to savor the flavors while keeping portions reasonable.
- Nuts for Nutrition : Adding nuts boosts healthy fats and protein.
Conclusion
These Cheesecake Bars prove that great desserts don’t have to be complicated. By following our detailed recipe and expert tips, you’ll be able to create a batch of these irresistible treats with ease and confidence.
So gather your ingredients, fire up the oven, and enjoy the satisfaction of serving something truly special. Happy baking—and happy eating! 🍴✨