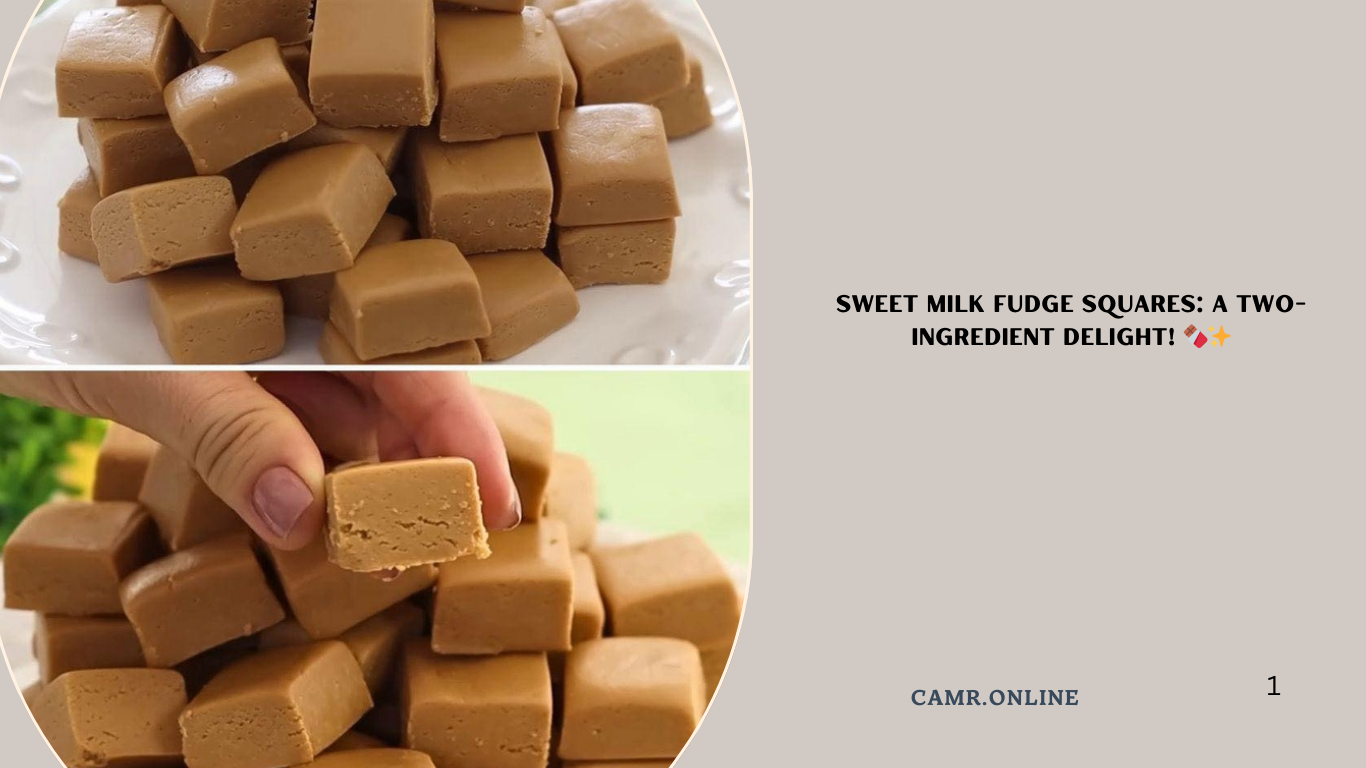
Looking for a quick, easy, and utterly delicious treat? These Sweet Milk Fudge Squares are made with just two ingredients and require no cooking—making them perfect for busy days, last-minute cravings, or when you simply want to indulge in something sweet. With their rich, creamy texture and melt-in-your-mouth flavor, these fudge squares are sure to become a family favorite!
In this article, we’ll guide you step-by-step through making this delightful dessert, share tips for success, and provide ideas for customization. Let’s dive in!
Why This Recipe Stands Out
Before diving into the details, here’s why these Sweet Milk Fudge Squares deserve a spot on your dessert tray:
- Two Ingredients Only : Simplicity at its finest—just sweetened condensed milk and chocolate chips!
- No-Cook Required : Skip the stove and let the microwave do all the work.
- Quick and Easy : Ready in under 15 minutes, they’re perfect for spontaneous treats.
- Customizable : Add-ins like nuts, sprinkles, or extracts make every batch unique.
Now let’s explore the ingredients and instructions in detail.
Ingredients You’ll Need
For the Fudge:
- 1 can (14 oz) sweetened condensed milk
(The base of the fudge, providing sweetness and creaminess.) - 2 cups semi-sweet chocolate chips
(For rich, melty chocolate goodness.)
Optional Add-Ins:
- 1 teaspoon vanilla extract (for enhanced aroma)
- 1/2 cup chopped nuts (such as walnuts or pecans for crunch)
- Sprinkles or mini marshmallows (for festive flair)
Step-by-Step Instructions
Step 1: Prepare Your Workspace
- Line an 8×8-inch baking pan with parchment paper, leaving overhang on the sides for easy removal later.
- Set aside while you prepare the fudge mixture.
Step 2: Combine Chocolate Chips and Condensed Milk
- In a microwave-safe bowl, combine the chocolate chips and sweetened condensed milk.
- Microwave the mixture in 30-second intervals, stirring thoroughly after each interval, until the chocolate is completely melted and smooth. This usually takes about 1–2 minutes , depending on your microwave’s power.
Step 3: Stir in Optional Add-Ins
If using vanilla extract, nuts, sprinkles, or other mix-ins, stir them into the melted chocolate mixture now. Ensure everything is evenly distributed.
Step 4: Pour Into the Pan
- Carefully pour the fudge mixture into the prepared baking pan, spreading it evenly with a spatula.
- Tap the pan gently on the counter to release any air bubbles and create a smooth surface.
Step 5: Chill and Set
- Place the pan in the refrigerator and chill for 2–3 hours , or until the fudge is firm and holds its shape.
- Once set, lift the fudge out of the pan using the parchment paper overhang and place it on a cutting board.
Step 6: Cut Into Squares
Use a sharp knife to cut the fudge into bite-sized squares. Store any leftovers in an airtight container in the refrigerator for up to 1 week .
Tips for Success
- Don’t Overheat : Microwaving in short intervals prevents the chocolate from burning or seizing.
- Chill Thoroughly : Proper chilling ensures the fudge firms up and slices cleanly.
- Line the Pan Well : Parchment paper makes removing the fudge a breeze and keeps cleanup minimal.
- Experiment with Chocolate Types : Use milk chocolate, dark chocolate, or white chocolate chips for variety.
Variations and Customizations
While the classic version is irresistible, feel free to switch things up with these ideas:
- Peanut Butter Swirl : Stir in 1/4 cup creamy peanut butter before chilling for added richness.
- Minty Fresh : Add 1/2 teaspoon peppermint extract and green food coloring for a holiday twist.
- Nutty Delight : Fold in chopped almonds, macadamia nuts, or hazelnuts for extra crunch.
- Candy Mix-In : Crush candy canes, Heath bars, or Reese’s Pieces and fold them into the fudge.
Serving Suggestions
These Sweet Milk Fudge Squares pair wonderfully with a variety of drinks and desserts:
- Serve alongside coffee, tea, or hot cocoa for a cozy treat.
- Offer them as part of a dessert buffet or holiday spread.
- Pack individual portions in small boxes or bags for gifts or party favors.
- Pair with fresh fruit or whipped cream for added indulgence.
FAQs About Sweet Milk Fudge Squares
Q: Can I use unsweetened condensed milk instead?
A: No, sweetened condensed milk contains both sugar and milk, which are essential for the fudge’s sweetness and texture. Unsweetened condensed milk won’t achieve the same result.
Q: How long does this fudge stay fresh?
A: Store leftovers in an airtight container in the refrigerator for up to 1 week . Avoid freezing, as it may affect the texture.
Q: Can I double the recipe?
A: Yes! Simply double the quantities and use a larger pan (e.g., 9×13 inches) to ensure even thickness.
Health Benefits of This Dessert
While this fudge is indulgent, there are ways to make it slightly healthier without sacrificing taste:
- Dark Chocolate Option : Using dark chocolate chips increases antioxidant content and reduces sugar.
- Portion Control : Enjoy one or two squares per serving to savor the flavor without overindulging.
- Nuts for Nutrition : Adding nuts boosts healthy fats and protein.
Conclusion
These Sweet Milk Fudge Squares prove that great desserts don’t have to be complicated. By following our detailed recipe and expert tips, you’ll be able to create a batch of these irresistible treats with ease and confidence.
So gather your ingredients, fire up the microwave, and enjoy the satisfaction of serving something truly special. Happy baking—and happy eating! 🍴✨