
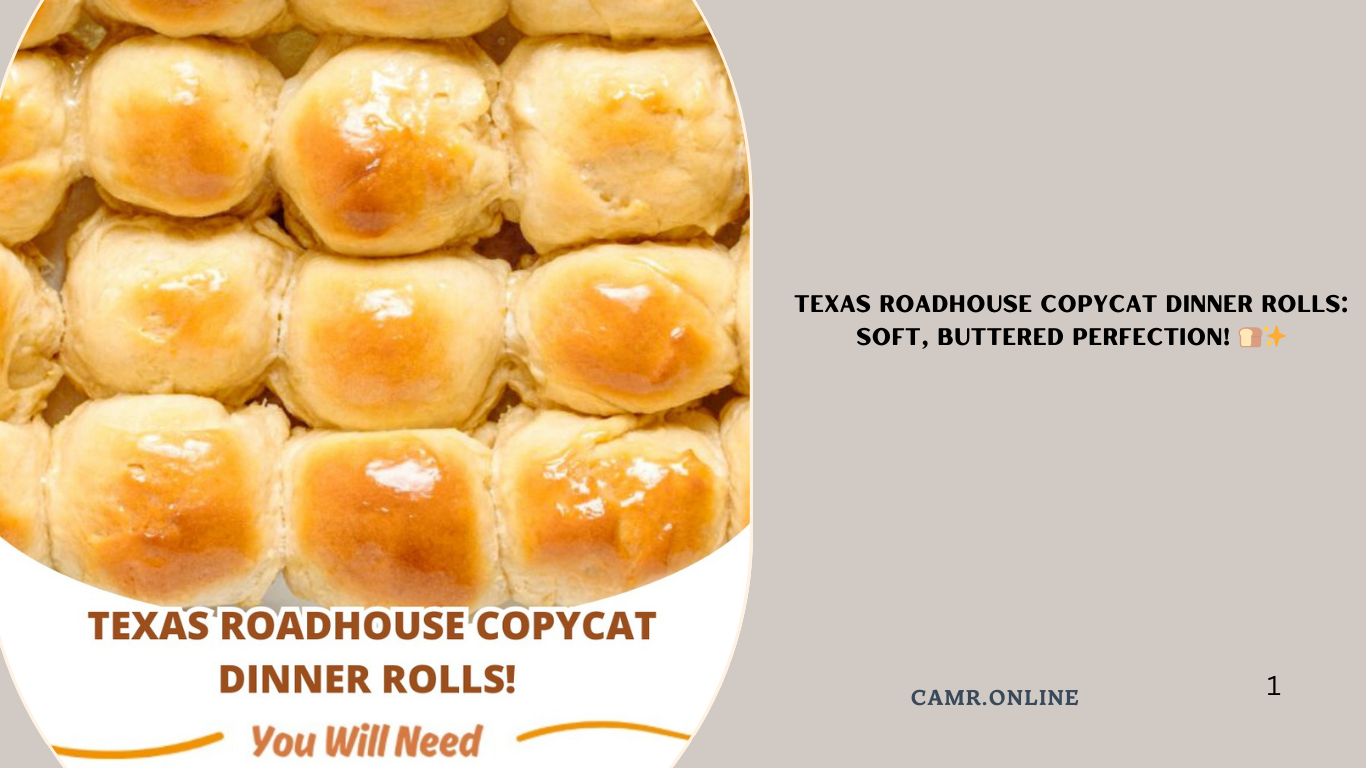
There’s nothing quite like the warm, buttery goodness of Texas Roadhouse dinner rolls—fluffy on the inside, golden-brown on the outside, and utterly irresistible. Now you can recreate that same magic in your own kitchen with this easy-to-follow copycat recipe! These homemade rolls are perfect for family dinners, holiday gatherings, or simply treating yourself to a taste of indulgence.
In this article, we’ll guide you step-by-step through making these delicious rolls, share tips for success, and provide ideas for customization. Let’s get started!
Why This Recipe Stands Out
Before diving into the details, here’s why these Texas Roadhouse Copycat Dinner Rolls deserve a spot on your table:
- Soft and Fluffy Texture : The combination of warm milk, yeast, and proper kneading ensures an irresistibly tender crumb.
- Simple Ingredients : With just a few pantry staples, you can whip up these rolls anytime.
- Authentic Flavor : The rich butter and subtle sweetness mimic the real deal perfectly.
- Versatile : Serve them plain, brushed with garlic butter, or as part of a sandwich.
Now let’s explore the ingredients and instructions in detail.
Ingredients You’ll Need
For the Rolls:
- 4½ cups all-purpose flour , divided into 3 cups and 1½ cups
(Dividing the flour makes mixing easier.) - 1½ tablespoons instant yeast (rapid rise)
(Instant yeast activates quickly and requires no proofing.) - ¼ cup granulated sugar
(Adds sweetness and helps feed the yeast.) - 1 teaspoon salt
(Balances the flavors and strengthens the dough structure.) - 1¼ cups warm milk (110°F)
(Warm milk activates the yeast without killing it.) - 4 tablespoons butter , softened
(Butter enriches the dough and creates a soft texture.)
Step-by-Step Instructions
Step 1: Activate the Yeast
- In a large mixing bowl, combine 3 cups of flour , yeast , sugar , and salt .
- Add the warm milk and softened butter to the dry ingredients. Stir until a sticky dough forms.
Step 2: Knead the Dough
- Gradually add the remaining 1½ cups of flour , one-half cup at a time, until the dough becomes smooth and elastic.
- Turn the dough out onto a lightly floured surface and knead for about 5–7 minutes . The dough should be soft but not overly sticky.
Step 3: Let It Rise
- Lightly grease a clean bowl with cooking spray or oil. Place the dough inside, cover it with a damp towel or plastic wrap, and let it rise in a warm, draft-free area for 1 hour , or until doubled in size.
Step 4: Shape the Rolls
- Punch down the risen dough to release trapped air.
- Divide the dough into 12 equal portions (about 2–3 ounces each). Shape each portion into a ball by pulling the edges toward the center and pinching to seal.
- Place the shaped rolls into a greased 9×13-inch baking pan, leaving space between them for expansion.
Step 5: Second Rise
Cover the rolls with a damp towel and let them rise again for 30–45 minutes , or until they’ve puffed up slightly.
Step 6: Bake the Rolls
- Preheat your oven to 375°F (190°C) .
- Brush the tops of the rolls with melted butter for extra flavor and shine.
- Bake in the preheated oven for 18–22 minutes , or until the rolls are golden brown and sound hollow when tapped.
Step 7: Brush with Butter
Once the rolls come out of the oven, brush them generously with more melted butter while still hot. This adds moisture and enhances their buttery flavor.
Step 8: Cool and Enjoy!
Let the rolls cool in the pan for about 10 minutes before transferring them to a wire rack. Serve warm or at room temperature.
Tips for Success
- Use Warm Milk : Ensure the milk is warm (around 110°F) but not too hot, as this could kill the yeast.
- Don’t Overknead : Kneading too much can make the rolls dense; stop once the dough feels smooth and elastic.
- Grease the Pan Well : Properly greasing the pan prevents sticking and gives the rolls a crispy bottom.
- Brush with Butter Twice : Brushing both before and after baking ensures maximum flavor and tenderness.
Variations and Customizations
While the classic version is delightful, feel free to switch things up with these ideas:
- Garlic Herb Rolls : Mix minced garlic, dried herbs, and melted butter before brushing it over the rolls.
- Cinnamon Sugar Rolls : Roll the dough balls in cinnamon sugar before placing them in the pan for a sweet twist.
- Cheesy Garlic Rolls : Sprinkle shredded Parmesan cheese and chopped fresh parsley over the baked rolls for savory goodness.
- Whole Wheat Option : Replace half the all-purpose flour with whole wheat flour for added nutrition.
Serving Suggestions
These dinner rolls pair wonderfully with a variety of meals and sides:
- Serve alongside soups, stews, or chili for a comforting meal.
- Use them as buns for burgers, sandwiches, or sliders.
- Split and toast them for breakfast, topped with butter, jam, or avocado.
- Freeze extras for later use—simply reheat in the oven or microwave.
FAQs About Texas Roadhouse Copycat Dinner Rolls
Q: Can I freeze the rolls?
A: Yes! Allow the rolls to cool completely, then store them in a freezer-safe bag for up to 3 months. Reheat in the oven or microwave before serving.
Q: What if my dough doesn’t rise?
A: Double-check the expiration date of your yeast and ensure the milk isn’t too hot. A cooler environment may slow rising, so try moving the dough to a warmer spot.
Q: How long do these rolls stay fresh?
A: Store leftovers in an airtight container at room temperature for up to 3 days. Freeze for longer storage.
Health Benefits of Homemade Dinner Rolls
While these rolls are definitely a treat, there are ways to make them slightly healthier:
- Whole Grain Flour : Substitute part of the all-purpose flour with whole wheat flour for added fiber.
- Reduced Butter : Use less butter during kneading and brushing for fewer calories.
- Portion Control : Enjoy one or two rolls per serving to savor the flavor without overindulging.
Conclusion
These Texas Roadhouse Copycat Dinner Rolls bring the warmth and charm of a favorite restaurant straight to your kitchen. By following our detailed recipe and expert tips, you’ll be able to create bakery-quality rolls that rival the originals.
So gather your ingredients, fire up the oven, and enjoy the satisfaction of serving something truly special. Happy baking—and happy eating! 🍞✨