
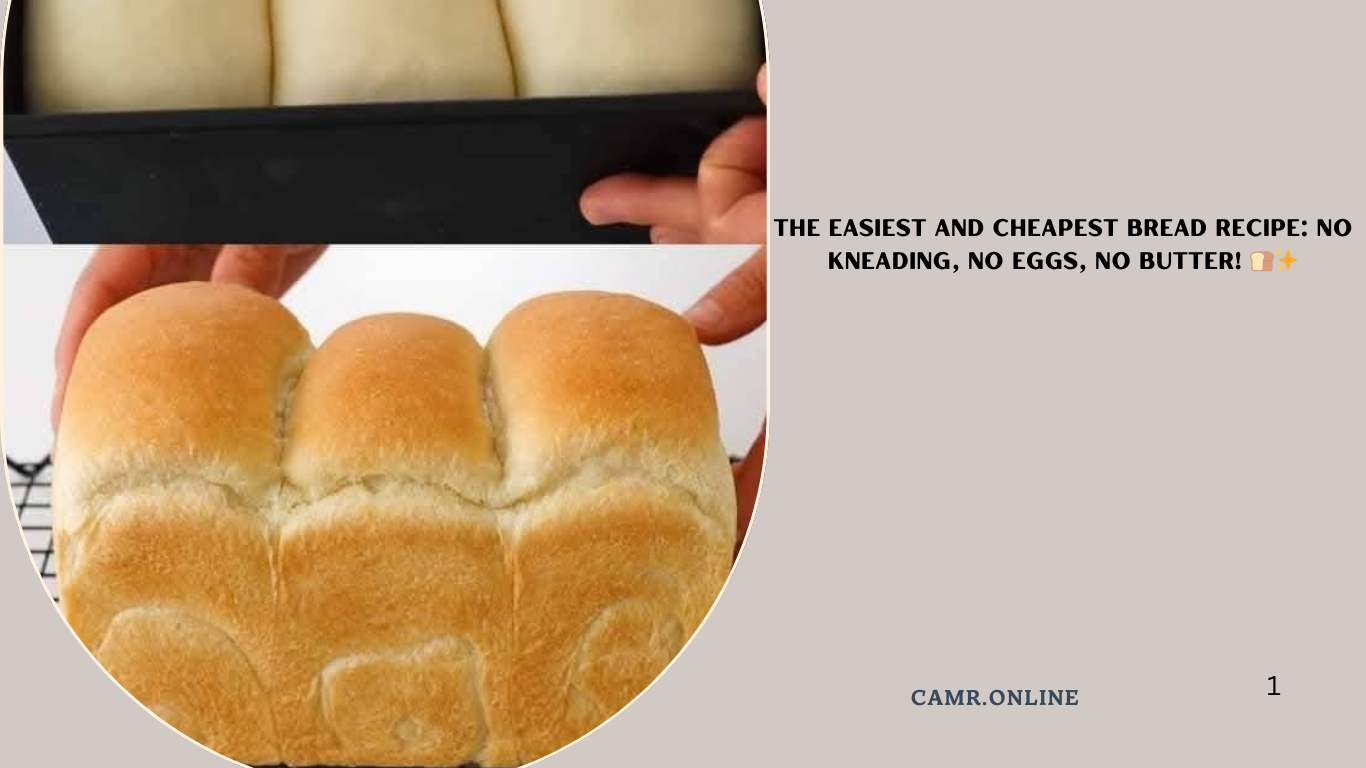
If you’re looking for a simple, affordable way to make homemade bread without the hassle of kneading, eggs, or butter, this No-Knead, No-Eggs, No-Butter Bread is your new go-to recipe! With just a few pantry staples, you can create soft, flavorful loaves that rival store-bought bread—at a fraction of the cost. Perfect for sandwiches, toast, or dipping into soups, this bread is as easy to make as it is delicious.
Why You’ll Love This Recipe
This bread proves that amazing results don’t require fancy ingredients or complicated techniques. Made with basic staples like flour, water, yeast, and salt, it’s budget-friendly, beginner-friendly, and versatile enough for everyday use. Plus, its hands-off approach means less work and more time to enjoy fresh-baked goodness!
Ingredients You’ll Need
- 3 cups all-purpose flour (plus extra for dusting)
- 1 tablespoon active dry yeast (or 2 1/4 teaspoons)
- 1 teaspoon salt
- 1 cup warm water (about 110°F/45°C)
- Optional: Cornmeal or semolina for sprinkling on the baking sheet
Step-by-Step Instructions
Step 1: Combine Dry Ingredients
- In a large mixing bowl, whisk together the flour , yeast , and salt until evenly combined.
Step 2: Add Warm Water
- Pour the warm water into the bowl with the dry ingredients. Stir gently with a wooden spoon or spatula until a shaggy dough forms. Don’t worry if it looks messy—it will come together during resting.
Step 3: Let It Rest
- Cover the bowl with a clean kitchen towel or plastic wrap and let the dough rest at room temperature for 8–12 hours . This long rest allows the gluten to develop naturally, so no kneading is required. During this time, the dough will rise slightly and become bubbly.
Step 4: Shape the Dough
- Once rested, lightly flour your work surface and scrape the dough onto it. Handle it gently—don’t overwork it. Shape it into a round loaf or oval batard by folding the edges toward the center.
Step 5: Second Rise
- Place the shaped dough onto a piece of parchment paper or a floured baking sheet. If desired, sprinkle some cornmeal or semolina underneath for added texture.
- Cover the dough again with a towel and let it rise for another 1–2 hours , or until doubled in size.
Step 6: Preheat Your Oven
- About 30 minutes before baking, preheat your oven to 450°F (230°C) . If you have a Dutch oven or cast-iron pot, place it in the oven to heat up (optional but recommended for a crustier loaf). Otherwise, use a regular baking sheet.
Step 7: Bake the Bread
- Carefully transfer the risen dough (still on the parchment paper) into the hot Dutch oven or onto the baking sheet. Use a sharp knife or lame to score the top of the loaf with a few shallow slashes for an artisanal look.
- If using a Dutch oven, cover it and bake for 20 minutes , then uncover and bake for an additional 15–20 minutes , or until the bread is golden brown and sounds hollow when tapped.
- For baking sheets : Simply bake uncovered for 35–40 minutes , or until golden brown and cooked through.
Step 8: Cool and Enjoy!
- Remove the bread from the oven and let it cool completely on a wire rack before slicing. This ensures the crumb sets properly.
- Slice and serve warm with butter, olive oil, or your favorite spreads. Store leftovers in a paper bag or airtight container for up to 3 days.
Tips for Making the Best No-Knead Bread
- Use Lukewarm Water : Ensure the water isn’t too hot—it should feel warm to the touch to activate the yeast without killing it.
- Don’t Skip the Rest : The long first rise gives the bread its characteristic flavor and texture. Letting it sit overnight yields even better results.
- Experiment with Flavors : Add herbs like rosemary, garlic powder, or grated Parmesan cheese during mixing for a savory twist. For sweetness, stir in honey, cinnamon, or dried fruit.
- Adjust Flour as Needed : Depending on humidity, you may need to add a little extra flour if the dough feels too sticky. Start with small increments to avoid drying it out.
- Go Gluten-Free : Swap all-purpose flour for a gluten-free blend designed for bread to make this recipe suitable for GF diets.
Final Thoughts
This No-Knead, No-Eggs, No-Butter Bread is proof that great bread doesn’t have to be complicated or expensive. Its simplicity, affordability, and versatility make it ideal for anyone who wants fresh, homemade bread without breaking a sweat. So gather your ingredients, let it rest, and enjoy the satisfaction of creating something truly special right at home!
If you loved this recipe, explore more easy baking ideas on our website. From quick breads to no-fuss desserts, we’ve got everything you need to keep your meals wholesome and exciting. Happy baking! 🍴✨