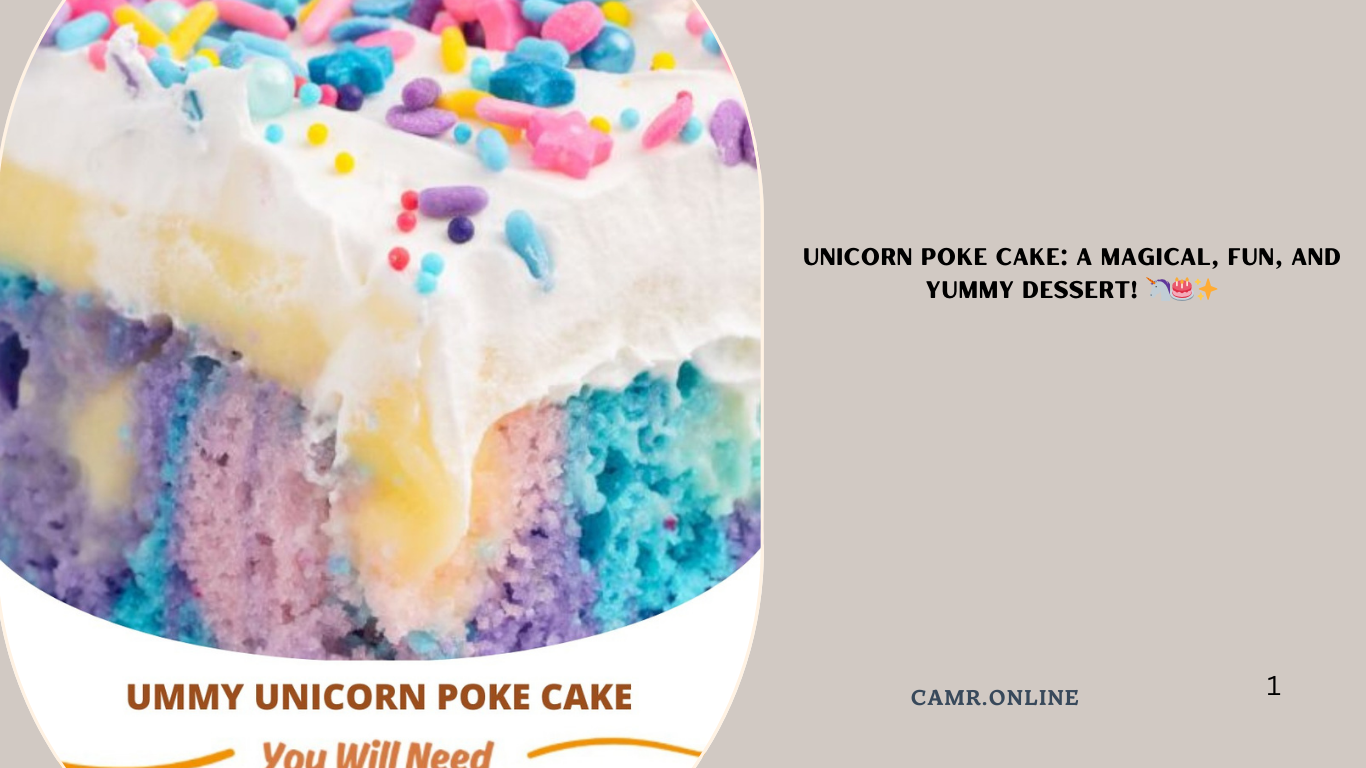
If you’re looking for a cake that’s as enchanting as it is delicious, this Unicorn Poke Cake is the perfect choice! With its vibrant colors, creamy texture, and whimsical appeal, it’s ideal for birthdays, parties, or simply brightening someone’s day. This easy-to-make dessert combines a fluffy white cake with colorful layers of sweetness, topped with a dreamy whipped cream frosting.
While the full recipe is provided in the comments, we’ll guide you step-by-step through making this delightful cake, share tips for success, and provide ideas for customization. Let’s dive into the magic!
Why This Recipe Stands Out
Before diving into the details, here’s why this Unicorn Poke Cake deserves a spot on your dessert tray:
- Vibrant Colors : Blue and purple gel food coloring create an eye-catching, magical effect.
- Simple Ingredients : Made with just five main ingredients, plus milk and pudding mix (as mentioned in the full recipe), it comes together quickly.
- Customizable : Add sprinkles, candies, or different flavors to make every slice unique.
- Fun for All Ages : Perfect for kids’ parties or adding a playful touch to adult gatherings.
Now let’s explore the ingredients and instructions in detail.
Ingredients You’ll Need
For the Cake:
- Box white cake mix
(The base of our magical creation.) - ⅓ cup vegetable oil
(Keeps the cake moist and tender.) - 3 egg whites
(Adds lightness without extra fat.) - Blue gel food color
(Creates the signature unicorn hues.) - Purple gel food color
(Enhances the magical theme.)
Additional Ingredients (From Full Recipe):
- Milk , as specified on the cake mix box
(Hydrates the batter and activates leavening agents.) - Instant vanilla pudding mix
(Infuses extra flavor and moisture.) - Sprinkles (optional)
(For added sparkle and fun!)
For the Frosting:
- Whipped cream
(Forms the fluffy, cloud-like topping.) - Food coloring (pink, blue, or purple)
(Continues the unicorn theme.) - Sprinkles (optional)
(Perfect for decoration.)
Step-by-Step Instructions
Step 1: Prepare the Cake Batter
- In a large mixing bowl, prepare the white cake mix according to the package instructions, substituting water with milk and adding vegetable oil and egg whites .
- Mix until smooth and free of lumps.
Step 2: Divide and Color the Batter
- Divide the prepared batter into two separate bowls.
- Stir blue gel food color into one bowl and purple gel food color into the other, adjusting amounts to achieve desired shades.
Step 3: Bake the Cake
- Grease and flour a 9×13-inch baking pan.
- Alternately spoon the colored batters into the prepared pan, creating a marbled effect by swirling gently with a knife.
- Bake according to the cake mix instructions, usually around 30–35 minutes , or until a toothpick inserted into the center comes out clean.
Step 4: Create the Pudding Mixture
- While the cake cools, prepare the instant vanilla pudding mix using milk as directed on the package.
- Allow the pudding to thicken slightly before proceeding.
Step 5: Poke and Fill the Cake
- Once the cake has cooled completely, use the handle of a wooden spoon or the back of a fork to poke holes evenly across the surface.
- Spoon the thickened pudding mixture over the cake, ensuring it seeps into the holes. Spread any remaining pudding over the top.
Step 6: Chill the Cake
Refrigerate the cake for 1–2 hours , allowing the pudding to soak in and set.
Step 7: Frost and Decorate
- Top the chilled cake with whipped cream , spreading it evenly for a soft, airy finish.
- Use food coloring to tint the whipped cream pink, blue, or purple for a cohesive look.
- Garnish with sprinkles , edible glitter, or additional food coloring designs for extra flair.
Tips for Success
- Use Gel Food Coloring : Gel colors are more concentrated than liquid, ensuring vibrant hues without altering the batter’s consistency.
- Don’t Overmix the Batter : Stop stirring once the ingredients are combined to keep the cake light and fluffy.
- Poke Deep Holes : Ensure the pudding soaks into the cake thoroughly for maximum moisture.
- Chill Before Frosting : Cooling the cake prevents the frosting from melting during assembly.
Variations and Customizations
While the classic version is magical, feel free to switch things up with these ideas:
- Rainbow Layers : Add red, green, or yellow food coloring for a full rainbow effect.
- Fruit Infusion : Fold diced strawberries or blueberries into the pudding mixture for fruity goodness.
- Chocolate Twist : Drizzle melted chocolate over the frosted cake for contrast.
- Gluten-Free Option : Substitute the white cake mix with a gluten-free version and adjust pudding mix accordingly.
Serving Suggestions
This Unicorn Poke Cake pairs wonderfully with a variety of drinks and desserts:
- Serve alongside fruit punch, sparkling water, or milk for added refreshment.
- Offer it as part of a dessert buffet with cupcakes, cookies, or brownies.
- Pack individual portions in portable containers for lunchboxes or snacks.
- Freeze leftover slices for later—simply thaw and reheat when ready.
FAQs About Unicorn Poke Cake
Q: Can I use another type of cake mix?
A: Yes! Vanilla or lemon cake mixes work beautifully and can enhance the flavor profile.
Q: What if I don’t have instant pudding mix?
A: Substitute with yogurt or sweetened condensed milk mixed with milk for similar results.
Q: How long does this cake stay fresh?
A: Store leftovers in an airtight container in the refrigerator for up to 3–4 days . Avoid freezing, as it may affect the texture.
Health Benefits of This Dessert
While indulgent, there are ways to make this cake slightly healthier without sacrificing taste:
- Reduced Sugar Options : Opt for reduced-sugar cake and pudding mixes to cut down on calories.
- Portion Control : Enjoy one slice per serving to savor the flavors while keeping portions reasonable.
- Fruit Add-Ins : Incorporating fresh berries boosts nutrients and adds natural sweetness.
Conclusion
This Unicorn Poke Cake brings together simplicity and creativity in one unforgettable dessert. By following our detailed recipe and expert tips, you’ll be able to create a cake that rivals anything from a bakery—all while letting your imagination run wild!
So gather your ingredients, fire up the oven, and enjoy the satisfaction of serving something truly special. Happy baking—and happy eating! 🍴✨